here's a small look into the process of preparing the marker piece i colored yesterday for goldie!
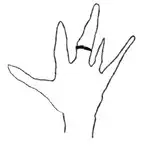
as i've been doing for most of my traditional pieces, i did my planning digitally on ipad. i did my sketch and a rough palette+plan in clip studio paint. i printed off the sketch at 6x6 size, to trace onto my working paper via a light table. the paper i used on the finished piece was strathmore 400 series smooth marker paper


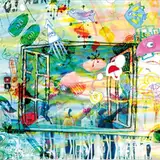
for the palette i created digitally, i chose a warmer yellow fur color and warmer blue shirt color than i had marker colors for. this meant that to match, i had to create those specific colors myself by layering two colors of similar value together to introduce warmer colors as an undertone. keeping the layers even and consistent to make the colors appear seamless on such large and important areas of the portrait was a challenge, but a necessary one to practice, as that situation crops up a lot in marker work! these are my unintelligible notes and mixing swatches

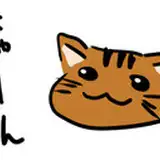
i also printed off a page of small thumbnails to test the colors i picked. i ended up using only one of the sketches since i was pretty happy with the palette and felt confident enough to start

i traced the sketch off (on two different marker pads admittedly, i ended up going with strathmore over the other) and was off to the races